
Introduction
Updating the same contact in two different apps is a waste of your time. You fix a record in Keap, forget to touch Airtable, and now your sales team and your project tracker disagree with each other.
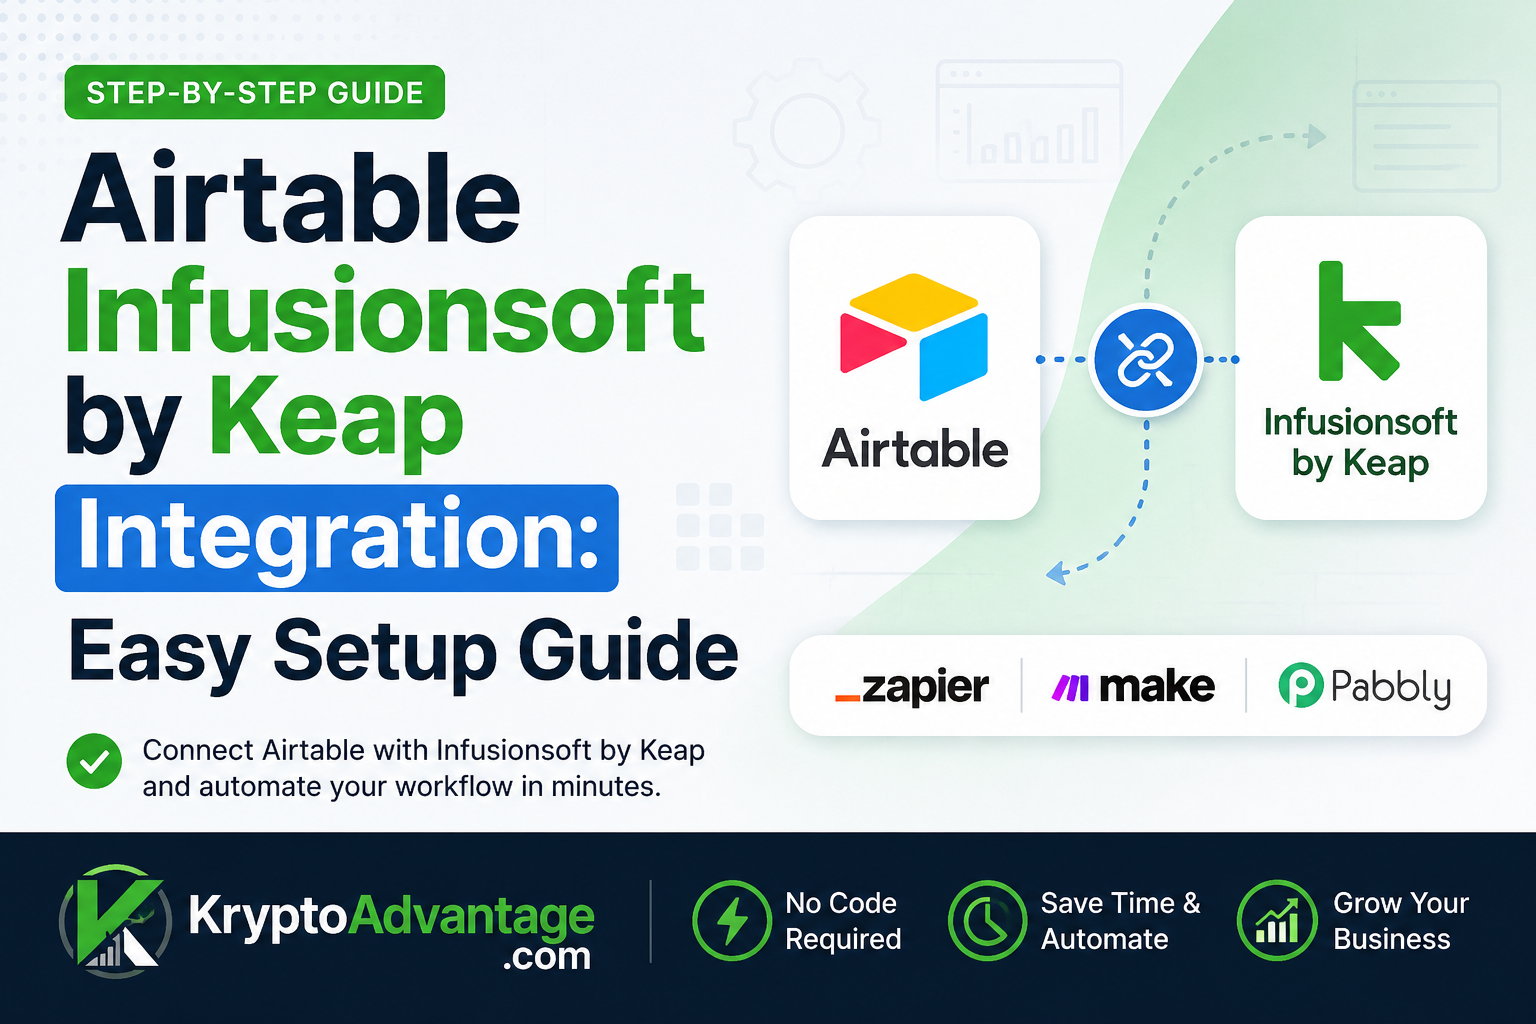
That’s the exact problem an Airtable Infusionsoft by Keap integration solves. Connect the two, and new contacts, deals, or tags in Keap can flow into Airtable automatically, and the reverse can work too.
There’s one thing to clear up before we start: “Infusionsoft” isn’t really a separate product anymore. Keap (formerly Infusionsoft) now sells its CRM under the names Keap Pro and Keap Max, and the older, all-in-one product many longtime users still run is called Keap Max Classic. You’ll see “Infusionsoft by Keap” used mostly by automation platforms as a legacy label for that classic version.
In this guide, you’ll learn how the integration actually works, what you need before you start, and how to set it up step by step, even if you’ve never connected two business apps before.
What Is Airtable and What Is Infusionsoft by Keap?
Before connecting anything, it helps to know exactly what each tool does.
Airtable: The Flexible Database
Airtable combines a spreadsheet with a database. You can track leads, plan projects, manage inventory, or build a content calendar, all in a visual, drag-and-drop format, without writing code.
Infusionsoft by Keap: The CRM and Automation Platform
Keap is a customer relationship management (CRM) and marketing automation platform built for small businesses. It manages contacts, sends marketing emails, and automates sales follow-ups.
Today, Keap sells two current plans, Pro and Max. Max Classic, the product most people mean when they say “Infusionsoft,” is a legacy plan that Keap no longer sells to new customers, though existing users can keep it and automation platforms still support it under that name.
Why Integrate Airtable with Infusionsoft by Keap?
Each tool is useful on its own. Together, they solve a bigger problem: data that lives in two places and never quite matches.
Keep Your Data Consistent
Without an integration, someone on your team might enter the same contact twice, once in Keap and once in Airtable. That leads to typos, missing details, and confusion about which version is correct.
With an Airtable Keap integration, a new contact or an update in one app can automatically show up in the other, cutting out manual copy-pasting.
Save Time on Repetitive Tasks
Think about how much time your team spends moving data by hand between two tools. For example, when a new lead is tagged in Keap, that lead can automatically appear as a new row in your Airtable project tracker, without anyone touching a keyboard.
Better Reporting and Visibility
Airtable is strong at building custom views and dashboards. Keap is strong at running the sales pipeline itself. Connecting them lets your team view sales activity in Airtable’s flexible layout, even though the original data still lives in Keap.
Is There a Native Airtable-Keap Integration?
No. Airtable and Keap don’t connect to each other directly. Both companies build integrations mainly through third-party automation platforms, not through a built-in feature on either side.
The three most established options today are:
- Zapier, which offers a dedicated Airtable-Keap integration page with pre-built templates for both directions
- Make (formerly Integromat), which has separate, actively maintained apps for both Airtable and Keap
- Pabbly Connect, which lists ready-made Airtable and “Infusionsoft by Keap” triggers and actions
A few smaller platforms, like Appy Pie Automate, also support this pairing. There’s also at least one paid, purpose-built sync tool (Commercient Pulse) aimed specifically at real-time Airtable-Keap syncing, if you outgrow the general-purpose automation tools. This guide focuses on the no-code route most small teams use first: a general automation platform like Zapier or Make.
What You Need Before You Start
A few things to confirm before you build anything, so you’re not stuck mid-setup.
Accounts and Access
You’ll need an active Airtable account with edit access to the base you want to connect, an active Keap account, and an account on whichever automation platform you choose.
Authentication Has Changed on Both Sides
Both companies have moved away from older, simpler API keys in the last couple of years, which affects how you’ll connect.
- Airtable retired its legacy API keys in February 2024. You now authenticate with a Personal Access Token (PAT) or OAuth instead.
- Keap disabled legacy API keys on October 31, 2024. Integrations now need OAuth2 or a Service Account Key.
If you’re following an older tutorial that mentions a simple “API key” for either app, expect the actual setup screen to look different. Most automation platforms handle this token exchange for you during the connection step, but it helps to know why the screen may not match an old guide.
Know Airtable’s API Limits
Airtable enforces a rate limit of 5 requests per second per base, and 50 requests per second across all traffic using personal access tokens from one account. Free-plan workspaces are also capped at 1,000 API calls per month. If you’re syncing a high volume of records, factor this in, or expect occasional delays until the limit resets.
Step-by-Step Guide: Setting Up the Integration
Here’s a walkthrough using a general no-code automation platform, since that’s the most common starting point.
Step 1: Create or Confirm Your Accounts
You’ll need Airtable, Keap, and your chosen automation platform (Zapier, Make, or Pabbly Connect) all set up. Most of these platforms offer a free tier to start, though free tiers cap how many automated tasks you can run each month, and that cap varies by platform and changes over time, so check current pricing before committing.
Step 2: Connect Airtable to the Automation Tool
In your automation platform, search for “Airtable” and start the connection. You’ll authenticate using either your Airtable login (OAuth) or a Personal Access Token, depending on the platform. Grant access only to the specific base you plan to use.
Step 3: Connect Keap to the Automation Tool
Search for “Keap” or “Infusionsoft by Keap” in the same platform. Log in and approve the OAuth permissions. This lets the automation tool read and write data in your Keap account.
Step 4: Choose Your Trigger
A trigger is the event that starts your automation. Common ones include:
- A new contact is added in Keap
- A tag is applied to a contact in Keap
- A new record is added to an Airtable view
Pick the trigger that matches your goal. For example, if you want new Keap contacts to show up in Airtable, choose “New Contact” as your trigger.
Step 5: Choose Your Action
The action runs after the trigger fires. If your trigger is “New Contact in Keap,” your action might be “Create Record in Airtable.” Map each field carefully, matching Keap’s “First Name” to Airtable’s “First Name” column, and so on, so data lands in the right place.
Step 6: Test the Integration
Run a test before going live. Most platforms let you send a sample record through the workflow so you can check the mapping. If a field is blank or misplaced, fix the mapping before continuing.
Step 7: Turn It On and Monitor
Once the test looks right, activate the automation. Check back after a few days, and again after the first couple of weeks, to confirm it’s still running as expected. It’s normal to make small adjustments early on.
Common Use Cases for This Integration
Sales Pipeline Tracking
Sales teams sometimes use Airtable to visualize deals in a kanban-style board, while Keap manages the actual outreach and email sequences. The integration keeps both views current.
Project Handoff From Sales to Delivery
When a deal closes in Keap, that customer’s information can automatically create a new project row in Airtable for the onboarding or delivery team.
Event Registration Tracking
If you collect sign-ups through Keap forms, those registrants can automatically populate an Airtable event tracker, so your team always has an up-to-date attendee list.
Advantages and Disadvantages
No integration route is perfect for every business. Here’s how the main options compare.
Advantages
- No coding required for the standard Zapier, Make, or Pabbly Connect setup
- Keeps contact and deal data consistent across both tools
- Cuts down on manual data entry and copy-paste errors
- Flexible: you can build simple one-way syncs or more advanced two-way workflows
Disadvantages
- Requires a paid plan on your automation platform once you outgrow the free tier’s task limits
- Field mapping errors can silently create bad data if you skip testing
- Two-way syncing can create update loops if it isn’t configured carefully
- You’re depending on a third-party platform, not a native integration built by Airtable or Keap themselves
Common Challenges and How to Fix Them
Duplicate Records
The same contact can get added twice if your automation doesn’t check for existing matches first. Set up your workflow to search for an existing record, usually by email address, before creating a new one.
Field Mismatches
If a field type in Keap doesn’t match the field type in Airtable (text versus number, for example), the sync can fail or throw errors. Check your field types on both sides before going live.
Automation Task Limits
Free or lower-tier plans on automation platforms cap how many tasks you can run each month. If your integration handles a high volume of contacts, you’ll likely need to upgrade your plan; check current limits directly on each platform’s pricing page, since they change over time.
Tips for a Smooth Integration
- Start small. Test with a handful of records before connecting your full contact list.
- Document your field mapping. Keep a simple note of which Keap field maps to which Airtable column, so troubleshooting later is faster.
- Review permissions regularly. Both apps hold sensitive customer data, so check who has access every so often.
- Watch your automation platform’s run history. Zapier, Make, and Pabbly Connect all log failed runs. Glance at that log weekly for the first month, since that’s when most mapping issues tend to surface.
FAQ
Can I integrate Airtable with Infusionsoft by Keap without coding?
Yes. Most people use no-code automation platforms like Zapier, Make, or Pabbly Connect. These use a visual, drag-and-drop setup that doesn’t require programming knowledge.
Is the Airtable Infusionsoft by Keap integration free?
It depends on the tools you use. Airtable and Keap both have their own paid plans, and automation platforms typically offer a limited free tier with paid upgrades for higher task volume. Check each provider’s current pricing page for exact numbers, since they change.
Will this integration sync data in real time?
Most automation platforms sync within seconds to a few minutes once a trigger fires, though exact speed depends on the platform and your plan. True instant syncing is more reliable with a dedicated paid sync tool built for this specific pairing.
Can I sync data in both directions?
Yes, in most cases. You can build separate automations so changes in Keap update Airtable, and changes in Airtable update Keap. Be careful with two-way setups, since they can create update loops if not configured correctly.
Do I need a developer to set this up?
Not usually. Standard setups on Zapier, Make, or Pabbly Connect work fine for most small teams. A developer becomes useful only if you want a highly customized, direct API connection beyond what these platforms offer.
Conclusion
Setting up an Airtable Infusionsoft by Keap integration doesn’t have to be complicated, even though the underlying authentication has gotten stricter on both sides in the past couple of years. With Zapier, Make, or Pabbly Connect, you can connect your contacts, deals, and projects in under an hour.
The payoff is straightforward: less manual data entry, fewer mismatched records, and a team that’s always looking at the same information. Start with one simple automation, test it carefully, and expand from there once it’s running smoothly.
If you’re ready to stop copying data by hand, pick an automation platform, connect your accounts, and set up your first trigger today.
If your team is also comparing broader productivity software, our guide to cloud-based productivity apps covers tools that pair well alongside a CRM setup like this. And if you’ve run into a similarly awkward “no native integration” situation with another tool, our Tradify-to-Zapier workaround guide walks through a comparable fix using webhooks and middleware tools.
Disclaimer: Software features, pricing, API policies, and free-tier limits mentioned in this article can change at any time. Always check Airtable’s, Keap’s, and your automation platform’s official documentation for the most current details before building an integration.